
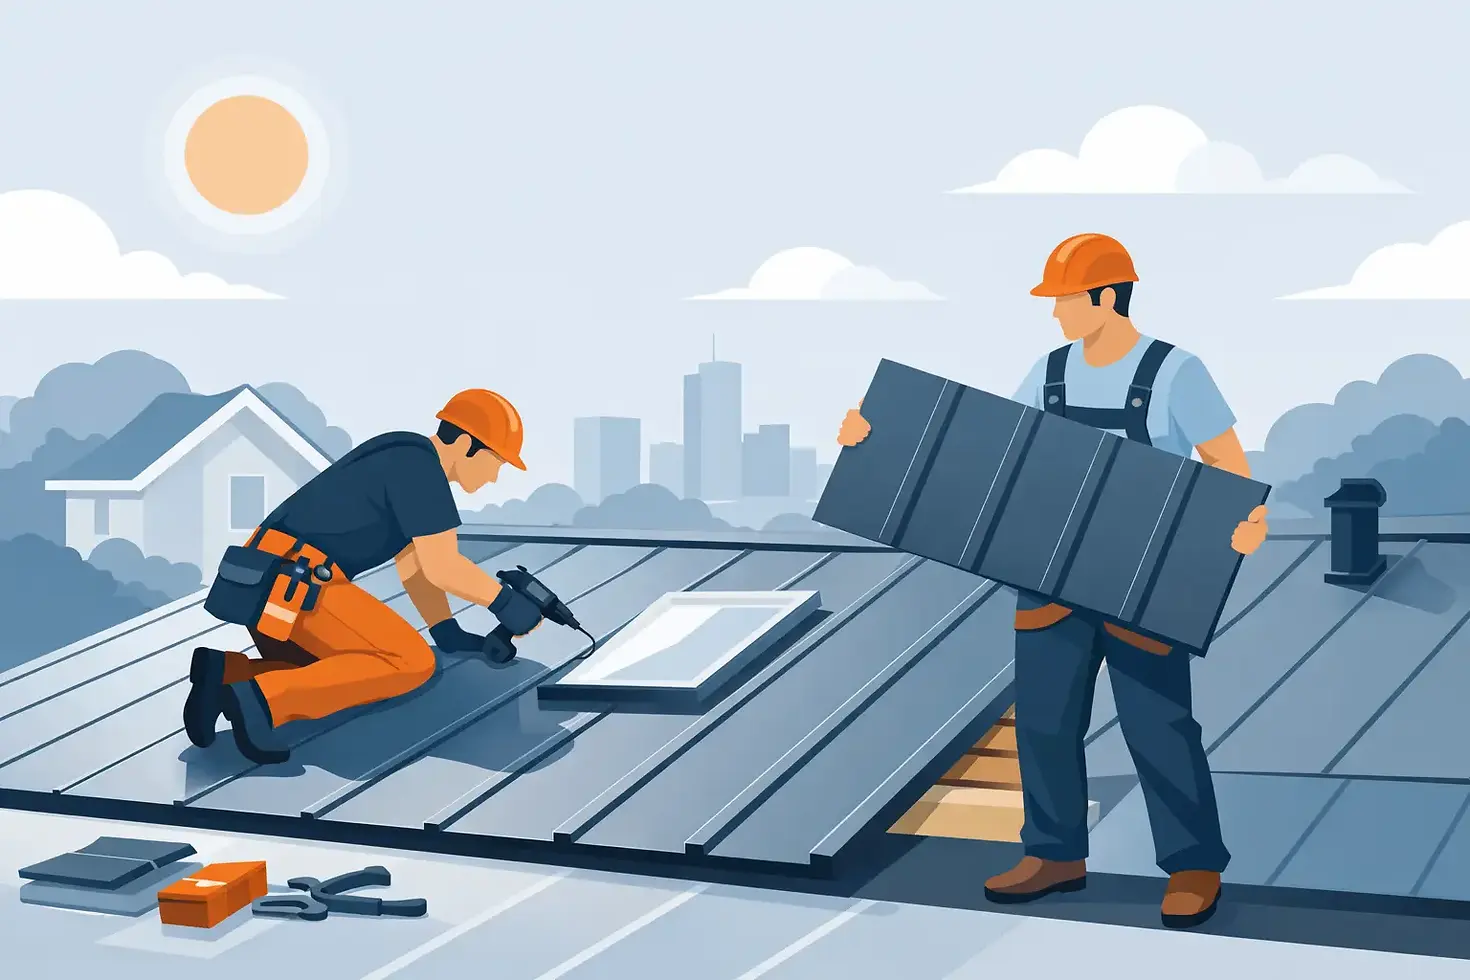
Standing Seam Metal Roof Installation Guide
A standing seam metal roof installation guide should start with one honest point: this is not a forgiving roofing system. When standing seam is installed well, it delivers clean lines, long service life, and strong weather performance. When it is installed poorly, small errors in layout, fastening, or flashing can turn into leaks, oil canning, and expensive callbacks.
That is why standing seam is often a better fit for experienced crews than for casual do-it-yourself work. Homeowners and property managers in Indianapolis usually choose this roof for durability, appearance, and lower long-term maintenance, but the performance depends heavily on the installation details you never see from the ground.
What makes standing seam different
Standing seam metal roofing uses vertical panels with raised seams that connect above the drainage plane. Unlike exposed-fastener metal roofs, the fasteners are typically concealed. That design helps protect screws and clips from direct weather exposure and gives the roof a cleaner, more architectural look.
There are a few common panel styles, including snap-lock and mechanically seamed systems. Snap-lock panels can work well on certain residential applications, while mechanically seamed panels are often chosen for lower slopes or projects that need a higher level of weather resistance. The best option depends on roof pitch, panel length, local weather conditions, and manufacturer specifications.
In central Indiana, that matters. A roof here needs to deal with wind, heavy rain, snow loads, freeze-thaw cycles, and summer heat. Standing seam can handle those demands well, but only when the system is designed and installed as a complete assembly rather than just a set of metal panels.
Before installation starts
A proper standing seam metal roof installation guide always begins with planning. The roof deck has to be solid, flat, and dry. Metal panels do not hide imperfections the way some asphalt shingle systems can. If the decking is uneven, that irregularity can telegraph through the finished roof and affect both appearance and performance.
Measurements also need to be exact. Panel layout is not just about covering the roof surface. Installers need to think through ridge alignment, eave overhang, valleys, hip conditions, chimney and vent penetrations, and how the panel widths will finish at the roof edges. A small layout mistake at the start can create a visible problem across the entire slope.
Underlayment selection matters just as much. High-temperature underlayment is commonly recommended under metal roofing because the roof surface can get much hotter than many homeowners expect. In some cases, ice and water shield is used in critical areas such as eaves, valleys, and penetrations, especially in climates where ice damming can be a concern.
Ventilation is another part of the conversation. A metal roof is not a fix for poor attic ventilation. If intake and exhaust are not balanced, moisture buildup and heat retention can still create problems under the new roof.
Standing seam metal roof installation guide: step by step
The installation itself follows a clear sequence, but each step requires precision.
1. Tear-off and deck inspection
If the old roof is being removed, the crew starts by tearing off existing materials and inspecting the roof deck. Any damaged or rotted decking should be replaced before the new system goes on. This is also the time to verify slope, check for soft spots, and correct framing or substrate issues that could affect panel alignment.
In some retrofit situations, metal roofing may be installed over an existing layer, but that depends on code requirements, structural considerations, and the condition of the current roof. It is not a shortcut that works in every case.
2. Underlayment and edge preparation
Once the deck is ready, underlayment is installed according to the roof design and manufacturer requirements. Drip edge, starter trim, and other perimeter components are set in place. These details help control water at the roof edges and create the foundation for clean panel placement.
This stage tends to look simple, but it sets the tone for everything that follows. If the edge metal is out of line, the panels will be out of line.
3. Panel layout and placement
The crew establishes the starting line carefully. Standing seam panels need to run true from eave to ridge, and even a minor deviation can become obvious as the installation continues. On large or highly visible roof sections, experienced installers often double-check measurements several times before fastening the first panel.
Panel lengths also require attention. Metal expands and contracts with temperature changes. A properly designed system allows for that movement through clips, fastening methods, and panel profile selection. If thermal movement is restricted, the roof can develop stress points, noise issues, or distortion over time.
4. Clips and concealed fastening
Clips are typically fastened to the deck, and the panels attach to those clips. This is one of the biggest functional differences between standing seam and exposed-fastener roofing. The clips help secure the system while allowing for movement where needed.
Fastener type, spacing, and placement should match the manufacturer requirements and local code. More fasteners are not always better. Incorrect fastening can create problems just as easily as insufficient fastening.
5. Seaming the panels
Depending on the profile, the panel seams may snap together or require mechanical seaming tools. Mechanically seamed roofs generally involve a more labor-intensive installation, but they can offer stronger performance in demanding conditions.
This step is where crew training really shows. A seam that is not fully engaged or consistently formed may not fail right away, but it can become the weak point of the roof when wind-driven rain or winter weather hits.
6. Flashing penetrations and transitions
Most roof leaks do not come from the open field of the roof. They happen at penetrations, transitions, valleys, walls, skylights, and chimneys. Flashing work is where quality roofing separates itself from rushed roofing.
Standing seam systems require carefully fabricated flashing details that work with the panel design, not against it. Boots around plumbing vents, counterflashing at walls, and valley details all need to manage water while accommodating movement in the metal. Sealant has a role, but it should not be treated as the main defense. Good metal roofing depends first on proper mechanical detailing.
7. Ridge, trim, and final detailing
Once the main panels are installed, the ridge cap, trim, closures, and other finish pieces go on. These parts complete the weatherproofing system and give the roof its finished appearance. Final inspection should include seam checks, fastening review, flashing review, and cleanup of any metal shavings or debris that could stain the panels if left behind.
Where installation problems usually happen
A standing seam metal roof installation guide is only useful if it talks about risk. The most common issues are not always dramatic mistakes. Often, they are small details repeated across the job.
Poor layout is a frequent one. If panels are not square, the roof can look uneven, especially on prominent front elevations. Inadequate clip spacing is another problem, particularly in high-wind areas or on large roof planes. Flashing shortcuts around penetrations are also common, and they may not show up until the first major storm.
Then there is the issue of oil canning, which refers to visible waviness in flat metal panels. Some degree of oil canning can occur even on correctly installed roofs because of material characteristics, substrate conditions, and light reflection. Still, proper deck preparation, panel selection, and installation technique can reduce it.
Material choices and trade-offs
Not every standing seam roof is built the same. Steel and aluminum are both common choices. Steel is strong and widely used in residential roofing, while aluminum can be a good fit in certain environments because of its corrosion resistance. Gauge, paint finish, and panel profile also affect price and performance.
Higher-end systems usually cost more upfront, and that can give some owners pause. But labor quality matters just as much as the panel itself. A premium panel installed carelessly will not outperform a good system installed with discipline and attention to detail.
Color choice has practical implications too. Lighter colors may reflect more heat, while darker colors can create a bold appearance but absorb more heat. That does not mean one is automatically better. It depends on the building design, attic insulation, ventilation, and your priorities.
Is this a DIY project or a professional job?
For most property owners, this is a professional job. Metal roofing tools, panel handling, fall protection, and flashing fabrication all require real experience. One misstep can damage a panel, compromise the weather barrier, or create a leak path that is hard to trace later.
That is especially true on complex rooflines. A simple gable roof is one thing. Add dormers, valleys, chimneys, or low-slope transitions, and the installation becomes far less forgiving. Working with an experienced contractor gives you a better chance of getting the system, trim package, and installation method that actually fits the structure.
At 3 Kings Roofing and Gutters, that kind of straightforward planning matters because customers deserve to know what they are paying for and why the details count.
What to ask before the work begins
If you are comparing contractors, ask how they handle underlayment, ventilation, panel fastening, flashing details, and manufacturer specifications. Ask whether the crew installs standing seam regularly or only occasionally. Ask what workmanship coverage is provided and how change orders are handled if damaged decking is found.
Those questions are not nitpicking. They are how you separate a polished sales pitch from a roof system that will hold up for decades.
A standing seam roof can be one of the best long-term investments you make in your property, but it rewards precision, not shortcuts. If you want the clean look and long service life this system is known for, the smartest move is to focus less on the panel alone and more on the hands installing it.


Comments