
How to Tarp a Leaking Roof Safely
- Apr 12
- 6 min read
A roof leak rarely shows up at a convenient time. In Central Indiana, it often happens during a hard storm, after wind damage, or when melting ice finds a weak spot you did not know was there. If you need to know how to tarp a leaking roof, the goal is not to fix the roof permanently. The goal is to stop more water from getting into your home until proper repairs can be made.
A tarp can buy you time, but only if it is installed correctly and only if the situation is safe enough to handle. That distinction matters. A poorly secured tarp can tear loose, trap water, or put you at serious risk of falling. Before you climb a ladder, take a minute to assess what you are dealing with and whether this is a temporary DIY job or one that needs emergency professional help.
When tarping a leaking roof makes sense
Tarping is a temporary protection method for active leaks or visible roof damage. It is useful after missing shingles, small punctures, fallen branches, or storm damage that has opened part of the roof system. It can also help if water is entering around a damaged section and you need to prevent interior damage while waiting for repairs.
What a tarp will not do is solve underlying roofing issues. If decking is rotted, flashing has failed in multiple areas, or the roof has widespread storm damage, a tarp is only a short-term measure. It helps control the damage, not eliminate the cause.
If the leak is minor and you can safely identify the affected exterior area, tarping may be a practical step. If the roof is steep, slick, structurally unstable, or still exposed to lightning, high wind, or heavy rain, it is better to stay off the roof and call a roofing contractor.
Safety comes first
No roof tarp is worth a trip to the emergency room. Wet shingles are slippery. Metal roofs are even less forgiving. Older roofs may have soft spots that are hard to see from above. If you are dealing with storm damage, there may also be hidden hazards like unstable tree limbs or loose power lines nearby.
Only attempt this job if weather conditions are calm, the roof pitch is manageable, and you have the right equipment. You should have a sturdy extension ladder, shoes with good traction, work gloves, and another adult present to stabilize the ladder and assist from the ground. If you do not have those basics, wait.
One more point that homeowners sometimes miss - the leak inside your house may not be directly below the damage outside. Water can travel along rafters or decking before it drips into a room. That means the section you tarp should extend beyond the obvious leak area.
What you need before you start
To tarp a roof correctly, gather your materials first so you are not going up and down the ladder repeatedly. In most cases, you will need a heavy-duty waterproof tarp, 2x4 boards or furring strips, a drill or hammer, screws or nails, a utility knife, a measuring tape, and a ladder.
Choose a tarp that is large enough to cover the damaged section and extend several feet past it on all sides when possible. A common mistake is using a tarp that only covers the visible hole. Wind-driven rain does not stay neatly in one place, and water can continue getting underneath if coverage is too tight.
Blue plastic tarps from a hardware store can work in a pinch, but thickness matters. A heavier tarp generally lasts longer and resists tearing better. If the roof needs to stay protected for more than a few days, durability becomes more important.
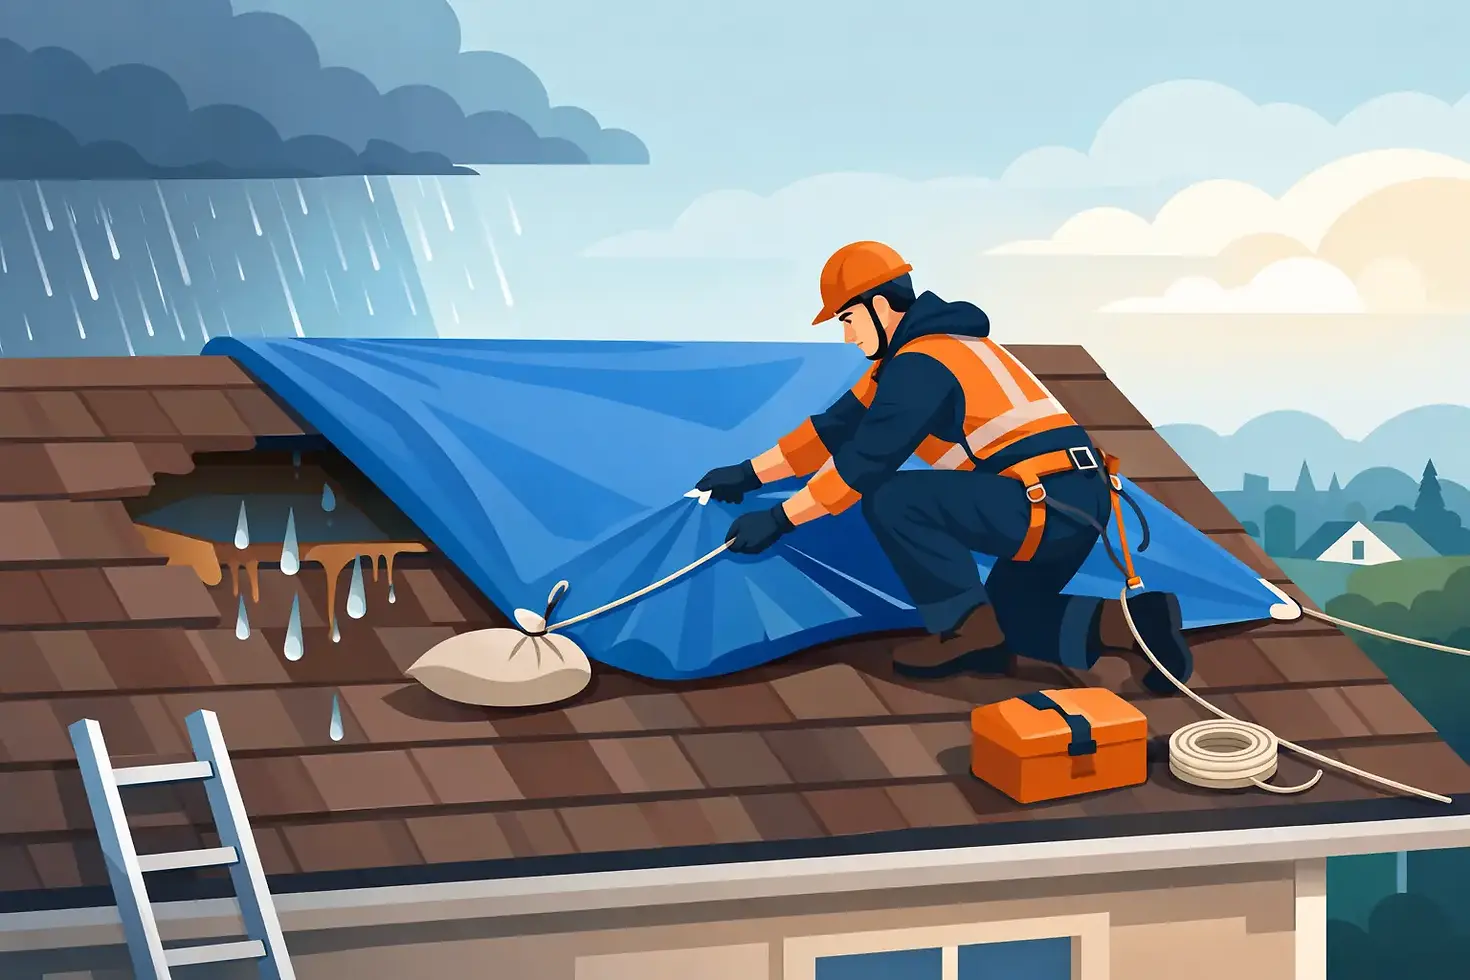
How to tarp a leaking roof step by step
The basic process is straightforward, but the details make the difference between a tarp that holds and one that fails in the next gust of wind.
1. Find the damaged area from outside
Start from the ground if you can. Look for missing shingles, exposed underlayment, punctures, lifted flashing, or obvious storm impact. If you inspected the attic or interior ceiling first, use that information as a guide, but do not assume the leak is directly above the stain.
Once on the roof, inspect carefully without walking over suspicious soft spots. You want to identify the full damaged area, not just the point where water is entering the living space.
2. Measure beyond the damage
The tarp should extend at least 3 to 4 feet beyond the damaged section, especially upslope. That upper coverage matters because water flows downward. If the tarp starts too close to the problem area, rain can still work under the edge and continue leaking into the roof assembly.
If the damage is near a ridge, it is often best to run the tarp over the ridge line when possible. That creates a more secure water-shedding setup than stopping short near the top.
3. Position the tarp flat and tight
Spread the tarp over the damaged area and smooth it out as much as possible. Try to keep wrinkles and low spots to a minimum. Any sagging section can collect water, and standing water adds weight and strain.
This is where having a second person helps. One person can hold and align the tarp while the other secures it. Make sure the tarp lays flat against the roof surface and fully covers the problem zone.
4. Secure the top edge first
Wrap the top edge of the tarp around a 2x4 board and fasten the tarp to the board. Then secure that board to the roof with screws or nails placed carefully. This creates a stronger anchor point than fastening the tarp by itself, which can tear under wind pressure.
The top edge is the most important because it blocks water from running under the tarp. If this part is loose, the rest of the tarp will not perform well.
5. Fasten the sides and bottom with boards
After the top is anchored, pull the tarp tight and secure the sides and bottom using additional 2x4 boards. Wrap or sandwich the tarp edges around the boards rather than placing fasteners directly through unsupported plastic whenever possible. This spreads out the load and helps prevent ripping.
The tarp should be snug, but not stretched so tightly that it tears. You are aiming for secure and smooth, not drum-tight.
6. Check for gaps and water paths
Before you come down, inspect the perimeter. Look for open edges, loose corners, or places where wind could catch the tarp. Also make sure water can run off naturally without being trapped behind a board or fold.
If the tarp flaps in the wind, it is not secured well enough. Movement leads to wear, and wear leads to failure.
Common mistakes when learning how to tarp a leaking roof
Most tarp failures come down to a few preventable issues. The first is using a tarp that is too small. The second is fastening directly through the tarp without wood reinforcement, which makes tearing much more likely. The third is trying to install a tarp in bad weather because the leak feels urgent.
Another common problem is covering the leak but not the full damaged field. Roof systems shed water as a whole, so the weak point may be larger than it looks from the ground. If shingles have been lifted by wind, the area that needs protection may extend beyond the one visible opening.
There is also the issue of waiting too long after tarping. A tarp is a temporary shield, not a repair strategy for the season. Sun exposure, wind, and repeated rain will wear it down. If your roof is tarped, schedule a permanent inspection and repair plan as soon as possible.
When to call a professional instead
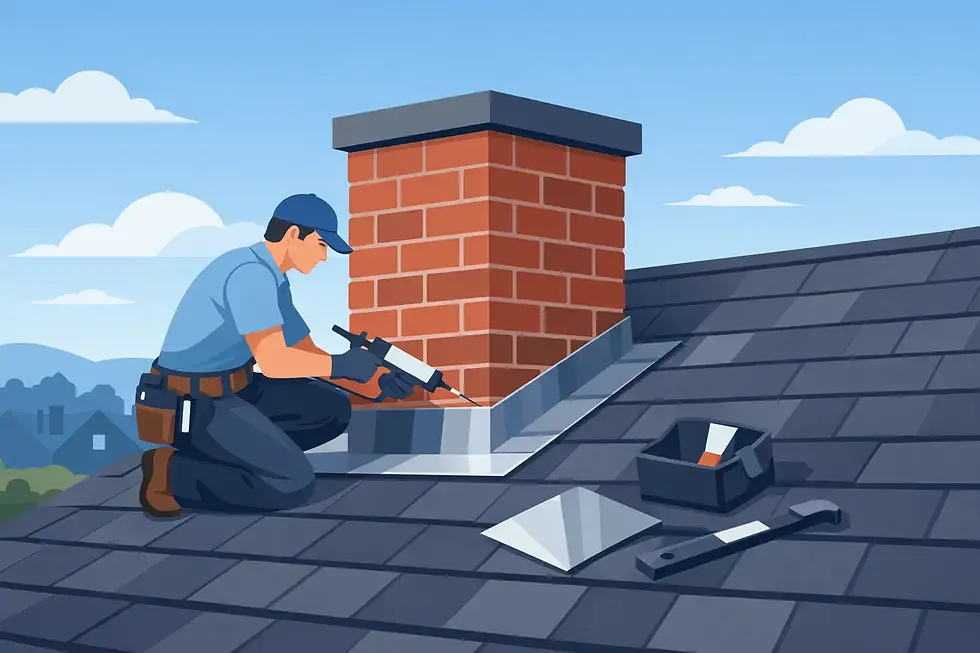
Some situations are not good candidates for DIY tarping. If the roof is very steep, the damage is widespread, tree impact is involved, or water is entering around chimneys, skylights, or multiple roof penetrations, the risk level goes up quickly. Commercial roofs can also be more complicated because drainage patterns and membrane systems behave differently than residential shingles.
In those cases, emergency service is the safer call. A trained roofing crew can tarp the roof more securely, document storm damage, and tell you whether you are dealing with a repair, partial replacement, or broader insurance claim issue. For homeowners and business owners in Indianapolis, that kind of clarity matters just as much as the temporary protection itself.
At 3 Kings Roofing and Gutters, we always tell customers the same thing - protect the property first, but do not guess when safety or structural damage is in question. Honest advice starts with understanding what can wait and what cannot.
After the tarp is on
Once the roof is covered, keep monitoring the interior of the home. Use buckets, move valuables away from the leak area, and check ceilings for sagging drywall. If water has reached insulation or attic materials, drying those areas out matters too. A tarp reduces incoming water, but any moisture already inside the system still needs attention.
Take photos of the damage before and after tarping if it is safe to do so. That record can help with repair planning and insurance documentation.
The best use of a tarp is simple - it gives you a controlled pause. It helps protect your home from further damage while you line up the right fix. If you approach the job carefully, use the right materials, and know when to stop and call for help, that temporary step can save you from a much bigger repair later.
When your roof starts leaking, speed matters. So does good judgment.


Comments